Step 1: Connect the iPad to your Mac’s USB ports (identify ports) using the appropriate Lighting to USB cable
| Macbook with USBA Port | Macbook with USB-C Port |
 |  |
| Lightning to USB-CA | Lightning to USB-C |
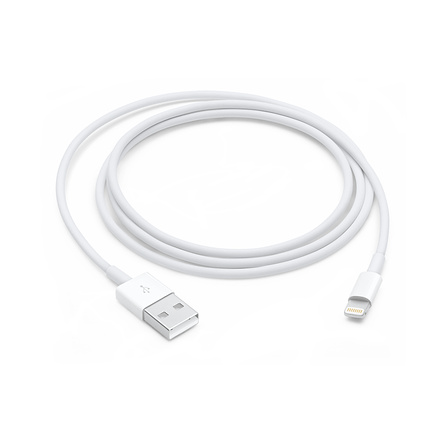 | 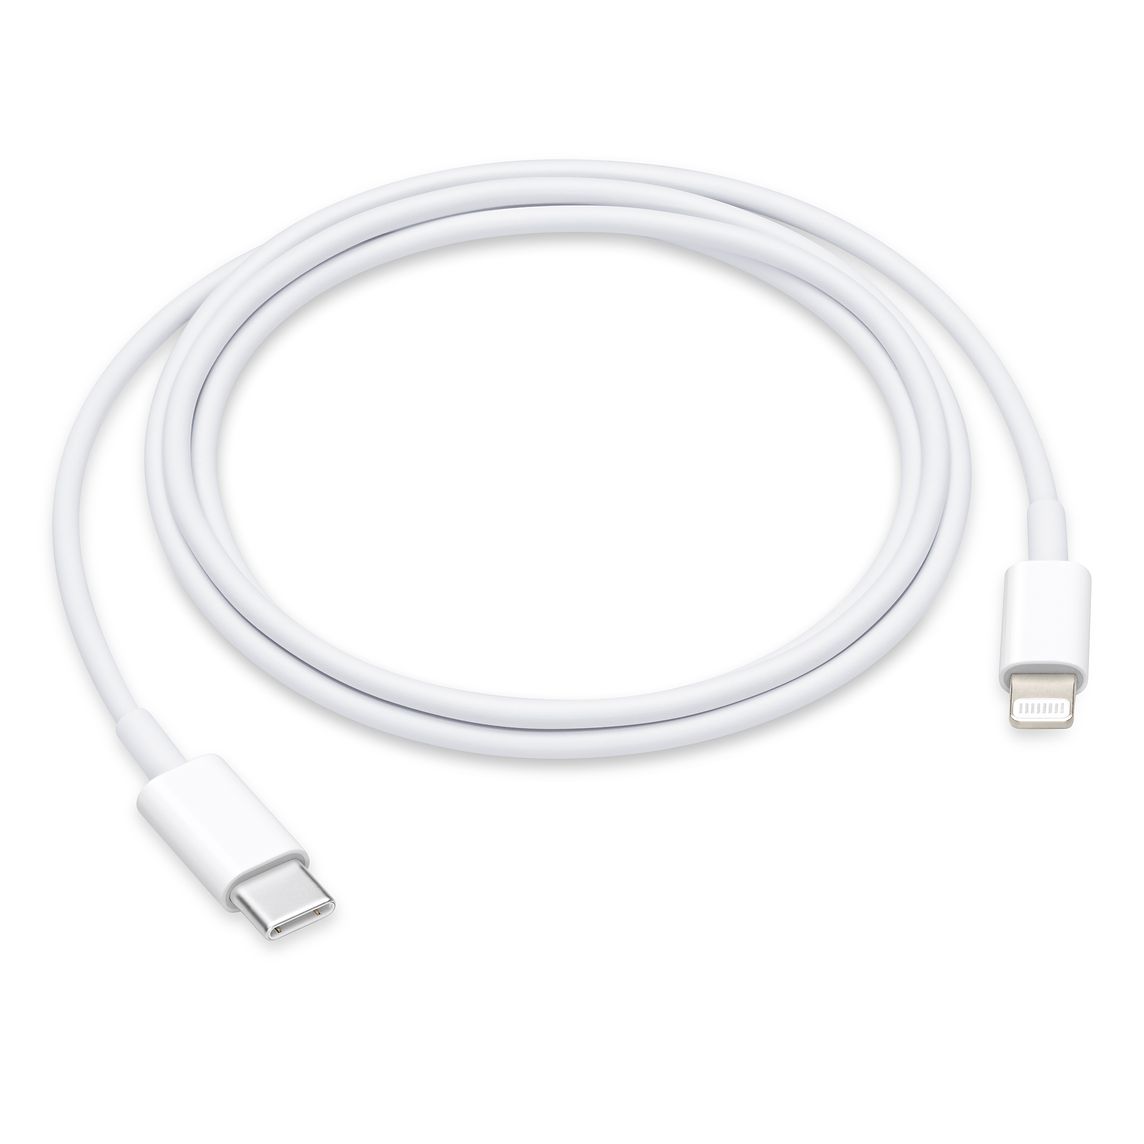 |
Step 2: Open the QuickTime application by navigating to the Spotlight search in the top right corner of your macOS. Click it. ![]()
When the search field opens type Quicktime and press enter.![]()
Step 3: When QuickTime software loads select New Movie Recording from the File drop down menu.![]()
Step 4: Hover your mouse over the Quicktime window, click the drop down icon next to the red record button and select USB Camera. 
Step 5: The QuickTime software should now be reading a live video feed from the full screen of your iPad.
Step 6: You can now take screen shots of the displayed content or you may even cast the microscope feed by sharing your full screen or the QuickTime app from the video conferencing software of your choice, such as via Zoom, Google Meets, WebEx, etc.
Sharing from Zoom
From within Zoom, hover your cursor over the middle of the Zoom screen and the bottom menu bar will appear, click Share Screen.

Then choose the window that displays the iPad Screen. It will be the option displayed as “Quicktime Player – Movie Recording”.
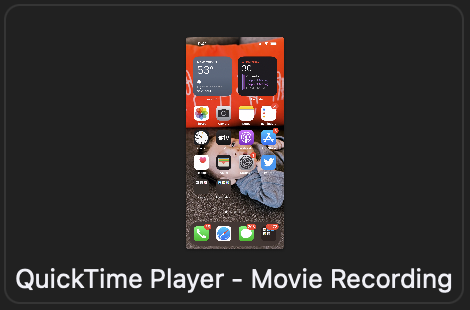
Finally, click the Blue Share button

Sharing from Google Meets
From within Google Meets hover your cursor over the middle of the Google Meet screen and the bottom menu bar will appear, click Present Now. 
Then choose, A Window 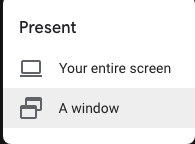
and select the window that displays the iPad Screen. It will be the option displayed as “Movie Recording”.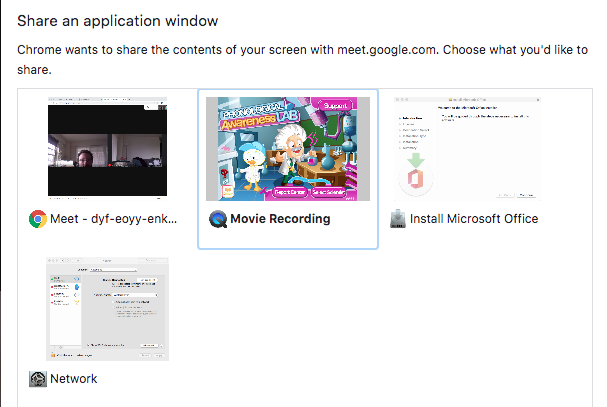
For Teams, WebEx, etc, the share functionality works in a similar fashion.