THIS DOCUMENT IS A WORK IN PROGRESS/ NEEDS UPDATING
This documentation details the configuration of the VPN package on the Synology SRM router software and provide detailed instructions on how to configure the TunnelBlick software to connect from.
It is not sufficient to merely install and enable the VPN service on the Synology router. There are numerous other configurations that must take place in advance in order for the appropriate IP addresses are setup, the connection DDNS name is set and security certificate is set.
Changing your Local Area Network (LAN) IP Addresses
Often “home” or “small business” routers use the default address space between 192.168.1.2 and 192.168.1.254. The address of the router itself is usually 192.168.1.1. Sometimes the third number is a 0 instead of a 1. This being said, when configuring VPN services, if both the remote client users have the LAN addresses within that same address space, it is possible that IP communication will fail between the two locations and users will not be able to navigate to the devices that they may need to reach over the VPN. To remedy this the LAN addresses can be changed on the Synology Router hosting the VPN service.
Follow the instructions in the KB article Changing the Local Area Network (LAN) IP Addresses on a Synology Router before proceeding to the next step.
Configuring the Dynamic Domain Name Service (DDNS) on your Synology Router
In order to connect to your network from the outside, it is easier to do so if you have a memorable named address known as a DNS address that automatically updates if the IP address number of your router’s Internet connection changes. A Dynamic DNS Name System (DDNS) is provided for free using the Synology hardware.
Follow the instructions in the KB article Configuring the Dynamic Domain Name Service (DDNS) on a Synology Router before proceeding to the next step.
Configure Secure Certificates
Synology also provides an easy mechanism for configuring Secure Socket Layer /HTTP(S) certificates via Let’s Encrypt. Be sure to do this prior to generating the OpenVPN Export Configuration files because it may impact the embedded certificate that will be provided to the VPN client software.
Configuring a Secure Certificate on a Synology Router
Configuring the VPN Server Service on the Synology Router
Important Note: Your Synology Router must be connected to an ISP modem and not behind a router provided by an ISP. (It may be possible to do, but takes much more configuration, using port forwarding).
From your wireless or wired LAN connection, navigate to your router’s address from a web browser. Usually the default IP address is the following, however, if there has been a custom configuration, use whatever address that you manually assigned when setting up the router.
https://192.168.1.1Log in with your Admin account.
Open the Package Center
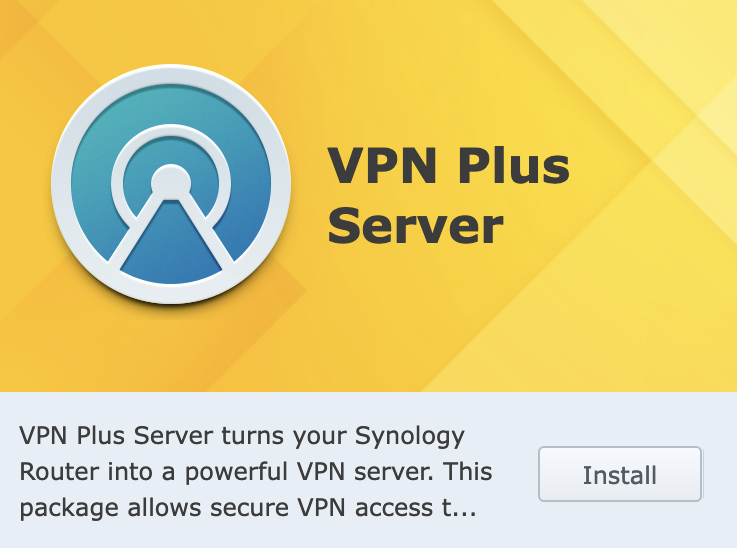
Install the VPN Plus Server software by clicking on the Install button
Once installation is complete, open the VPN software Plus Serer software.
Click the Standard VPN tab

Click the OpenVPN tab

On the OpenVPN configuration page, check off the “Enable OpenVPN server” checkbox, increase your Max. concurrent drop down as desired, check Enable compression on the VPN link and Allow clients to access server’s LAN (if you want your remote users to have access to ALL of the IP resources on your local area network, otherwise you if you want additional security, you will have to add specific firewall rules to allow specific traffic, which is preferred if you do not want all VPN users to have access to the devices on your internal network. If you or your family are setting up a VPN specifically for your household you may check Allow clients to access server’s LAN if that is the desired usage. If you are a small business however, consider using firewall rules to permit only specific traffic).
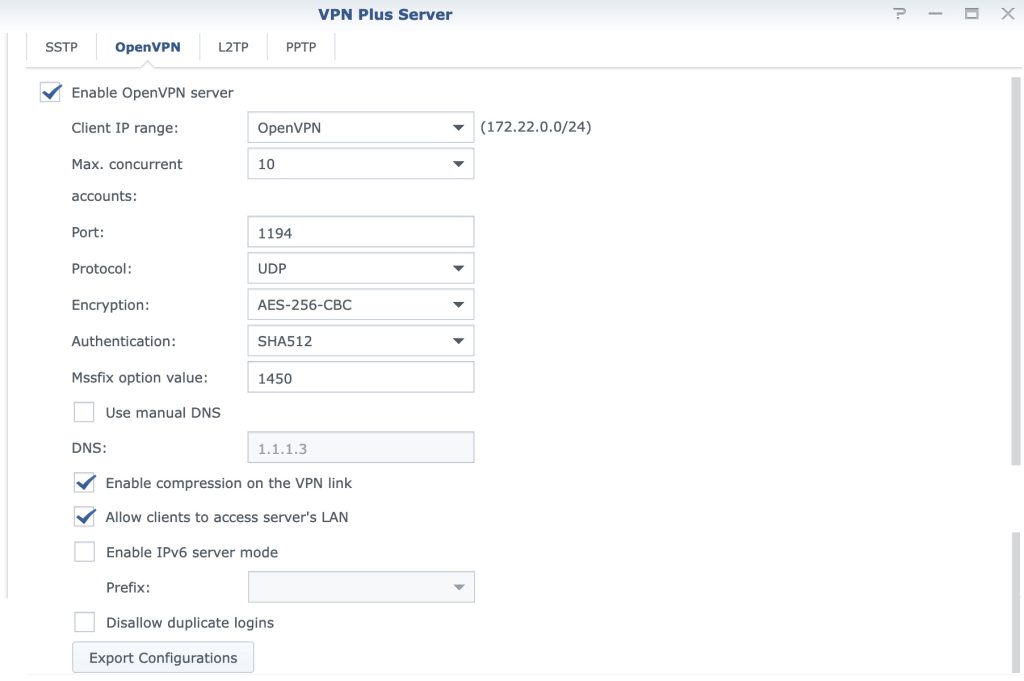
Click the Apply button to save the changes.

Create an OpenVPN Client Configuration File
Click the Export Configurations button. This will export the file needed to add the VPN connection settings to the client computers. The file needs to be edited.
First, save the file with a file name that makes sense for your configuration name, for example, Company Name – Address, or Home – Address. LAYERc - 280 9th Ave
or
Apartment - 280 9th Ave.
The reason to change the file name is that when importing the file into the Tunnelblick VPN software the name of the configuration is assigned based on the name of the imported file.
Then, with your favorite RAW text editor, open the file and make the following changes:
Each remote VPN user needs to have a valid Synology VPN license. For more information on free licensing see Synology’s documentation here.
References: