- Open the Scan software on your Chromebook
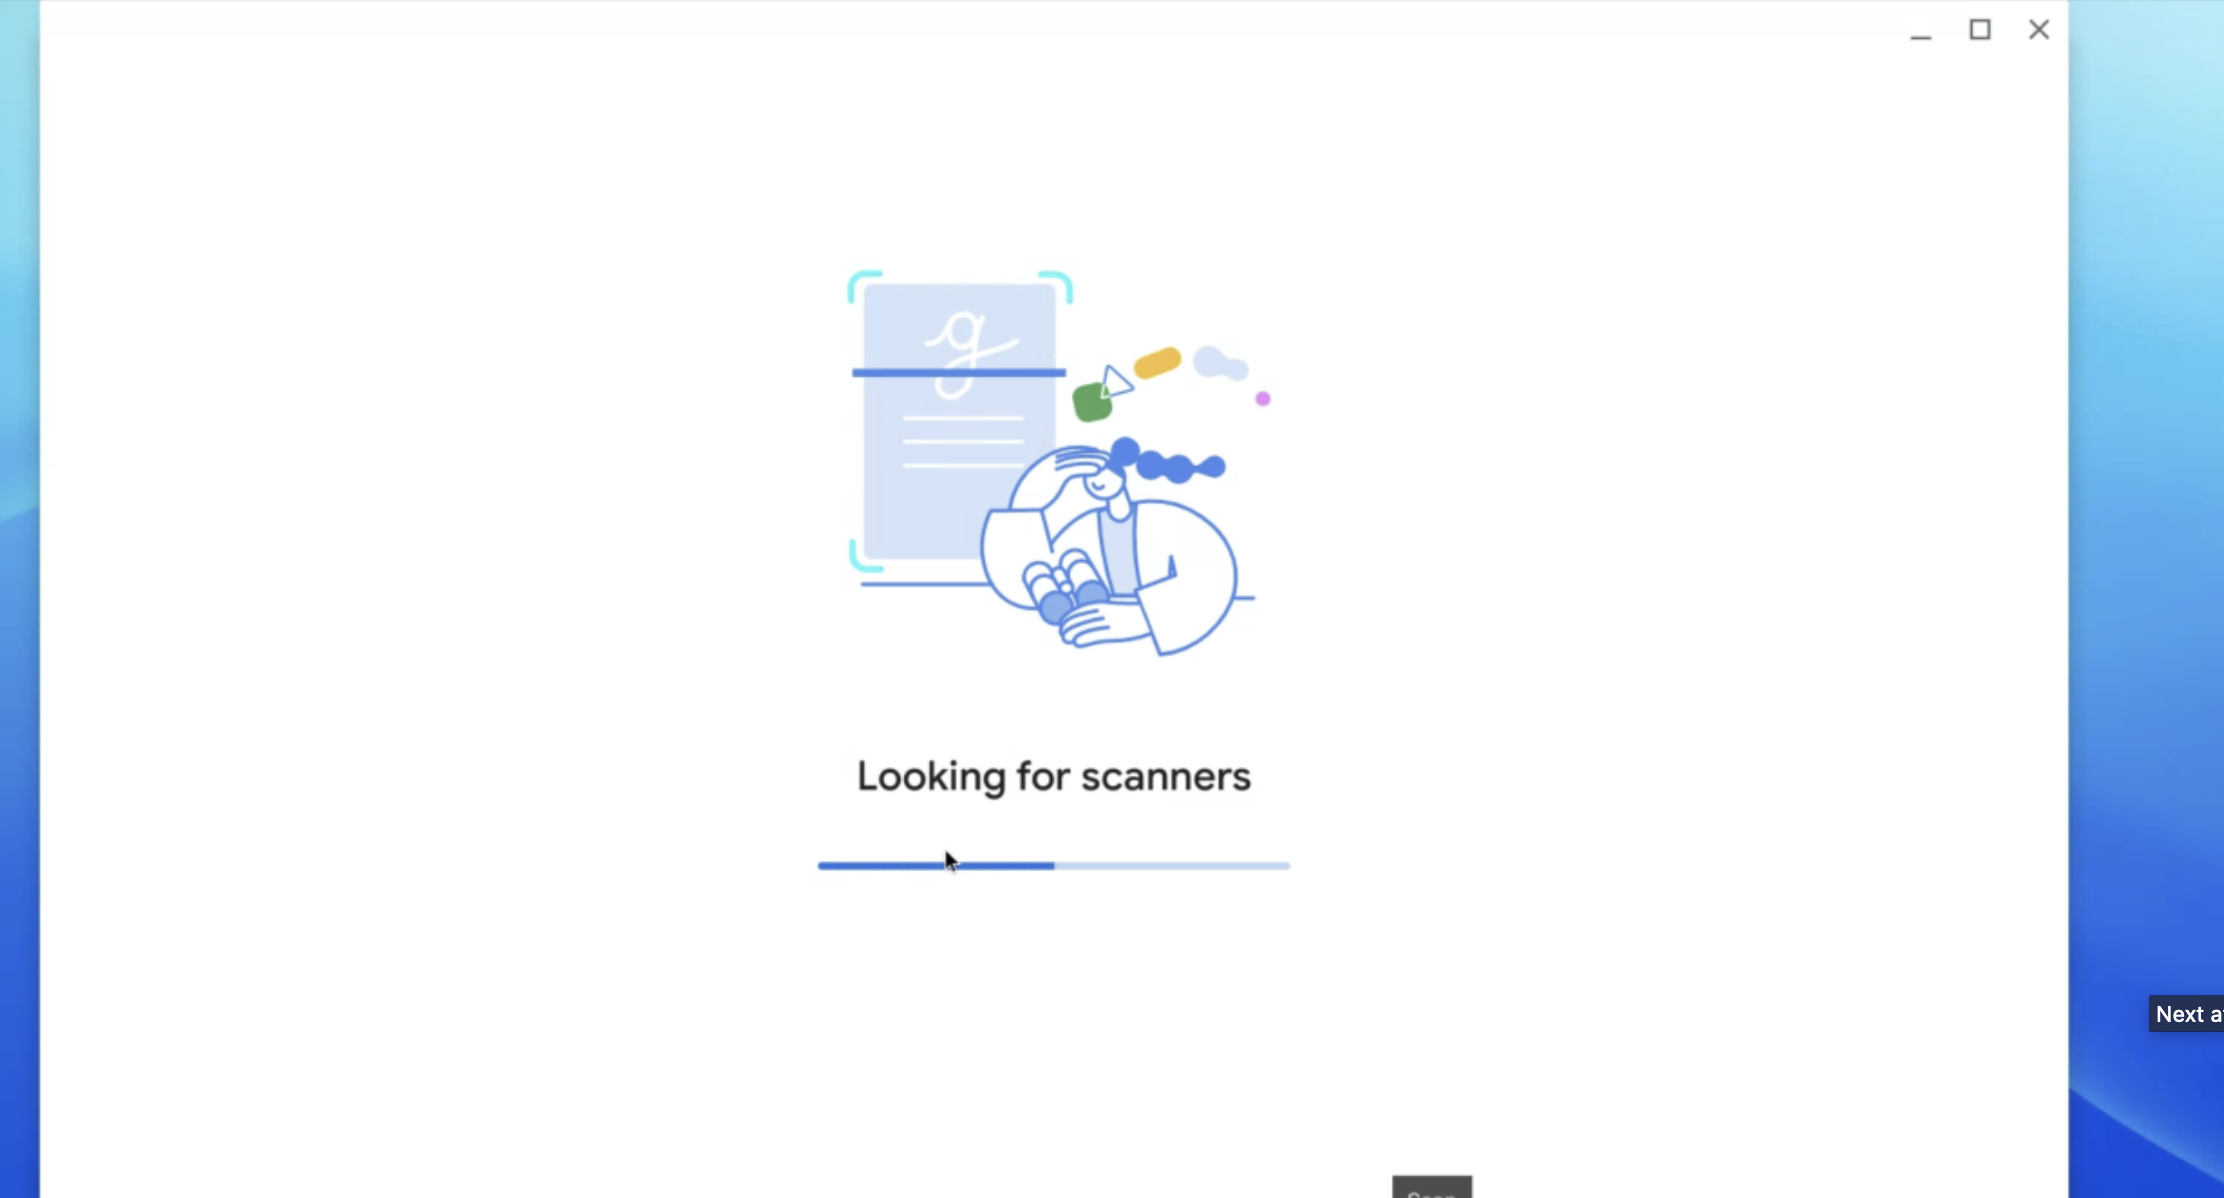
- The Scan software will load and begin to search for scanners.
- Once detected the scanner options will be displayed.
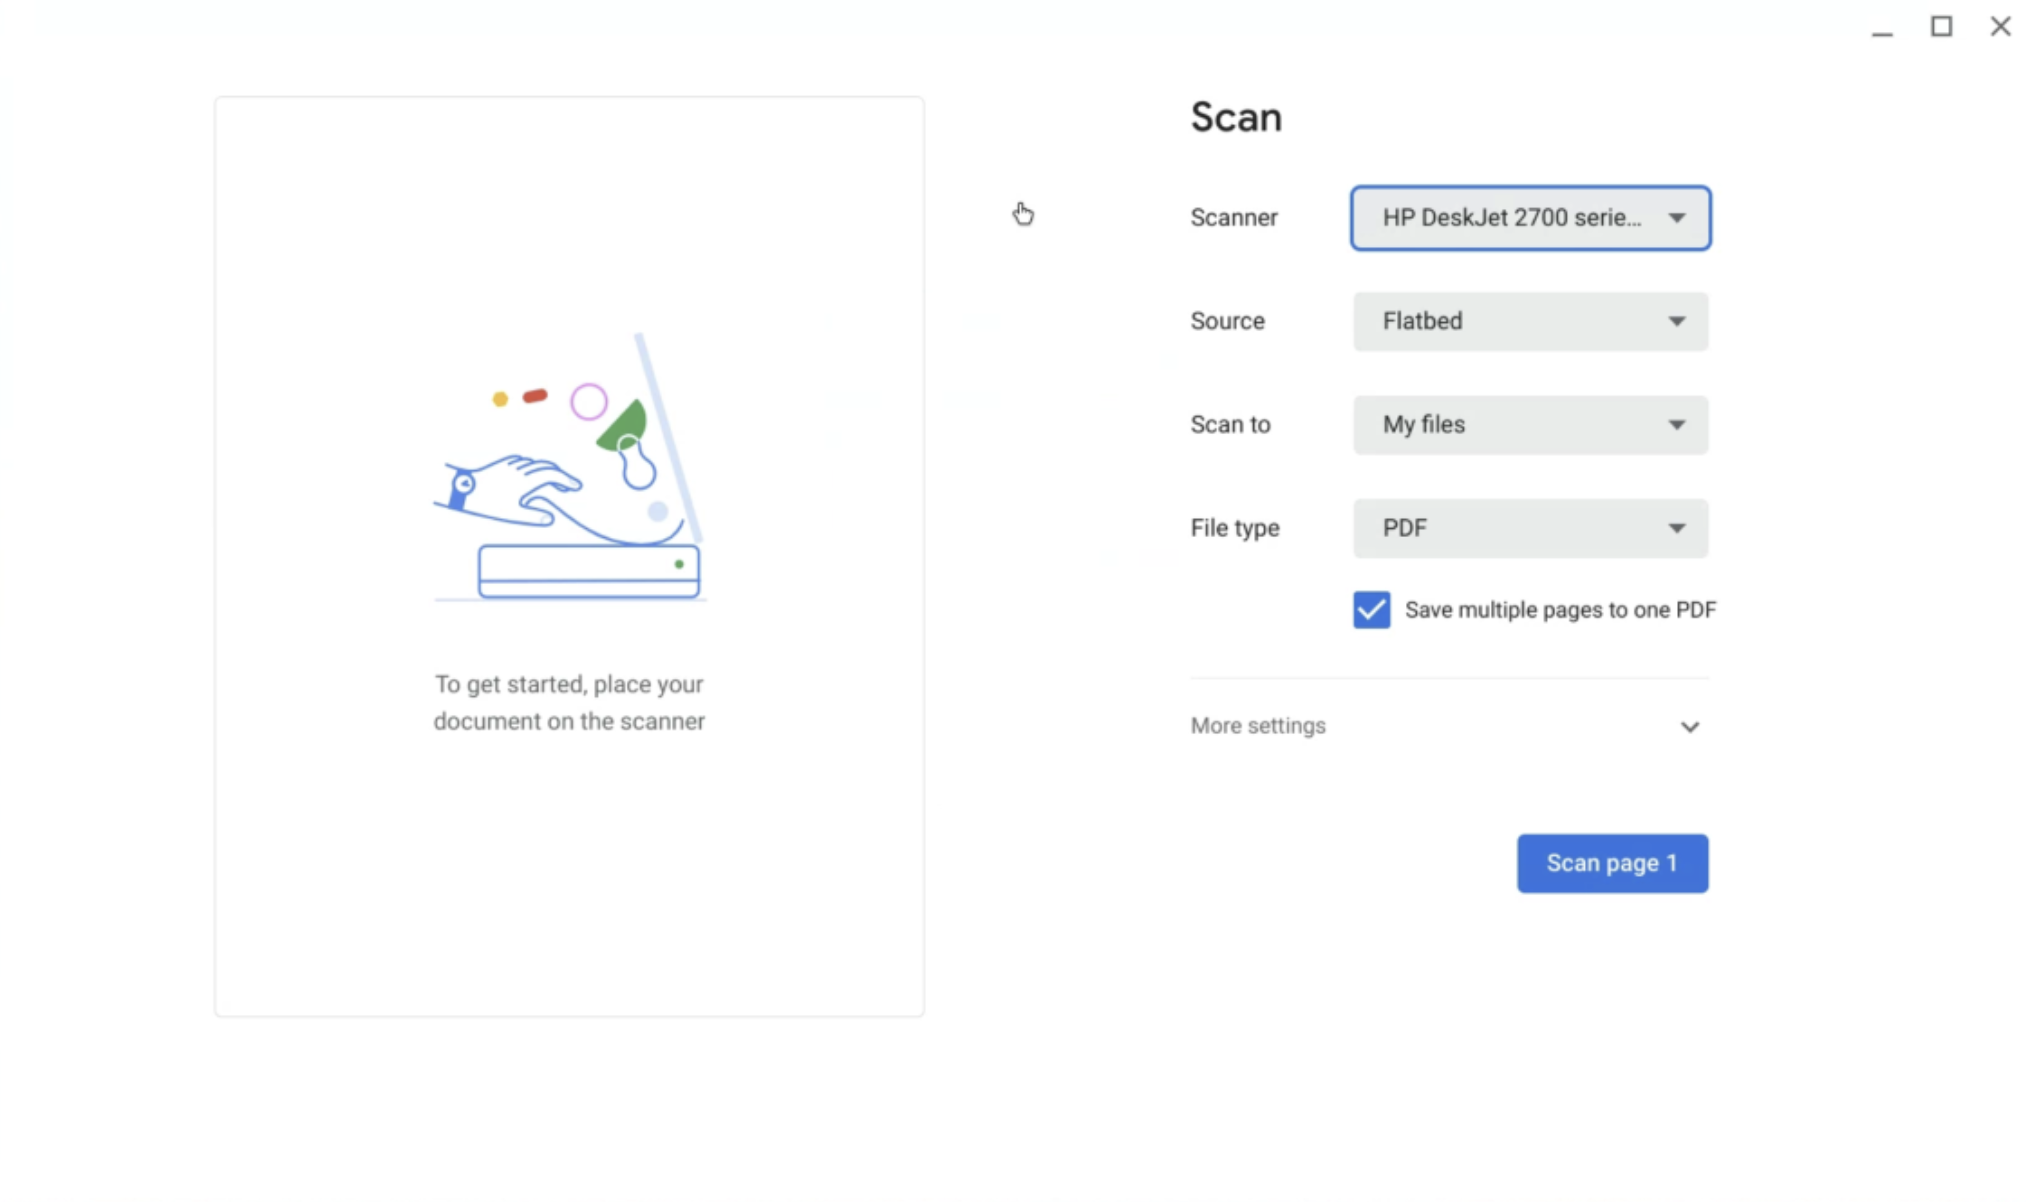
- Choose either the Flatbed or the Feeder as the Source depending on your scan needs.
- Choose a Scan to location as desired.
- Select the File type as desired. Usually when scanning documents one would choose PDF.
- If the document has multiple pages, you may want to check the box that says “Save multiple pages to one PDF”
- There are More settings if needed
- Otherwise, begin scanning by pressing the Scan page 1 button.

- When the first page completes, you will be prompted to choose to either “End & Save” or scan the next page… click the desired button.
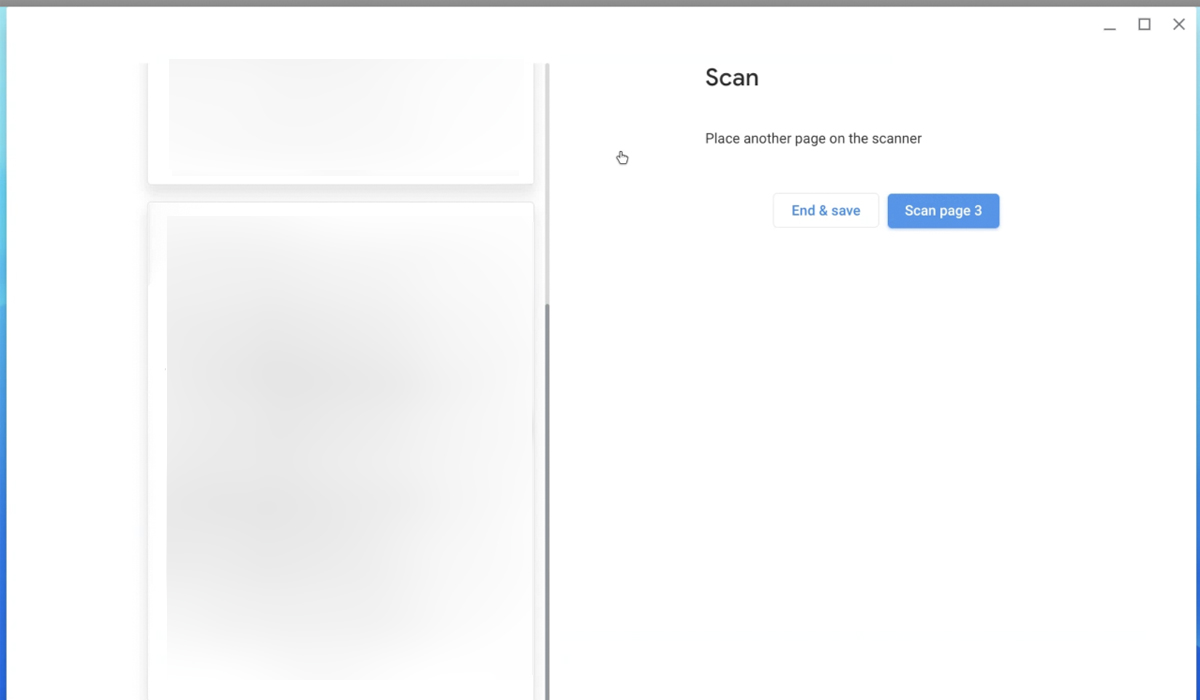
- When your document is fully scanned, click the End & Save button
- The document will now reside in the previously selected location, by default (“My Files”) unless otherwise specified.
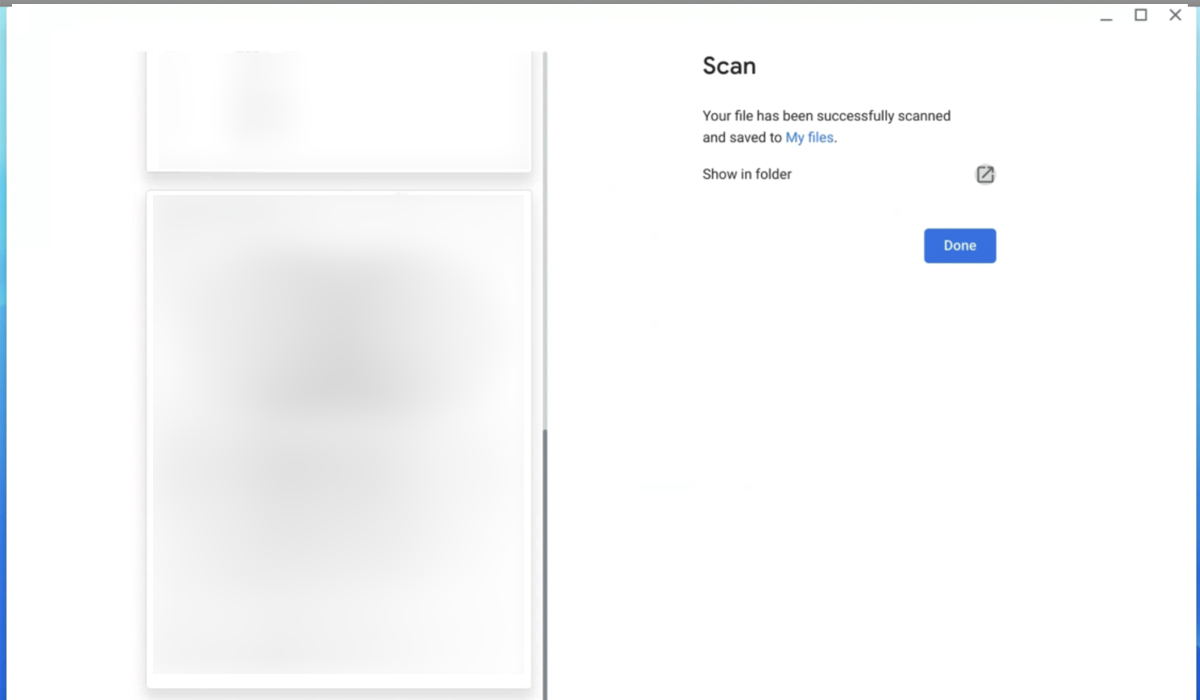
Now that the document scan is complete, you can attach it to emails from the My Files location selected.