Log Chrome to download the desired logs by logging into DMS and navigating to Main Menu > Support Center > Support Services. Note sometimes Firefox does not load the download file.
Make sure that the “Log system status periodically” check box is checked so the system is always accumulating basic logs. If you want future detailed logs, also check the “Log more detailed information for diagnosis”. Click the Apply button at the bottom right to apply these changes.
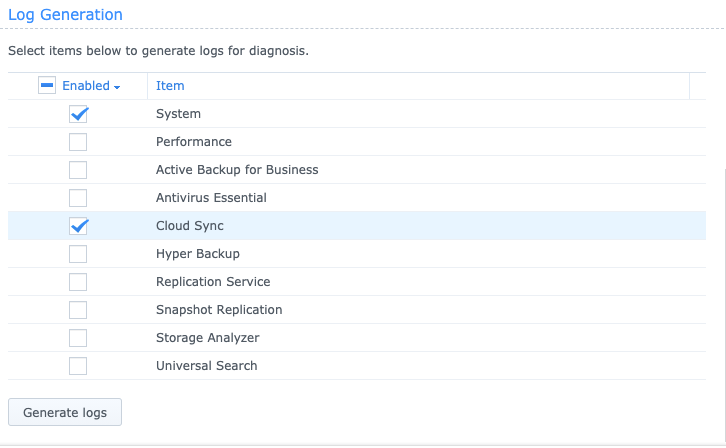
Scroll down to the Log Generation section and check all the logs you would like to generate. Then click the Generate logs button.
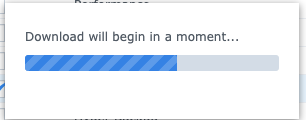
Once the logs are ready for download you will be prompted to save the debug.dat file. If the DSM web interface logs you out prior to the download completing you may have to change the auto logout settings by navigating to Control Panel > Security > Security and increaseing the Logout timer (minutes). Log out, then re-log in. Then perform the log generation again. Sometimes if logs are very large (multi-tens of GB) they will take a long time to generate. Eventually the browser will download the debug.dat file given the checked items.
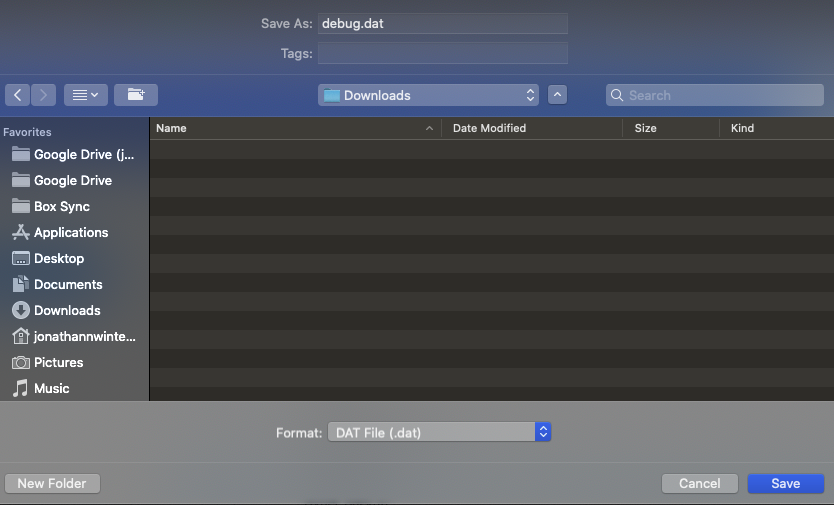
Choose a location and save the file.
unzip the download
on macOS
unzip debug.datnavigate to the desired log file folder, ie: /CloudSync/volume1/@cloudsync/log
for selection in *.xz; do open $selection; doneThe .xz files will be decompressed and placed into your ~/Downloads folder. Move them back into the log folder which you are working with and then change their file extensions from log_nn to .log by running the following. This will allow your common raw text editors to view the files with code coloring for easy reading.
for selection in *.log_*; do mv -- "$selection" "$selection.log"; done
Then remove all the .xz files that you no longer need.
rm *.xz