These instructions are for the end-user to configure their client computer to connect to a Synology OpenVPN server. If you are the systems administrator and need to configure the OpenVPN server software on the Synology SRM Router, see the instructions posted here.
Installing TunnelBlick VPN Client for macOS
Download the TunnelBlick VPN software from TunnelBlick.net.
Note: You may need an older version (3.8.8b) if you have not yet upgraded the VPN server software on the Synology Router to work with the newer versions of TunnelBlick 4+.
From the Downloads folder, double clicked the downloaded .dmg file.

The .dmg file will open.

Double click the Tunnelblick VPN installer icon.

You may have to allow the installer to proceed via prompt,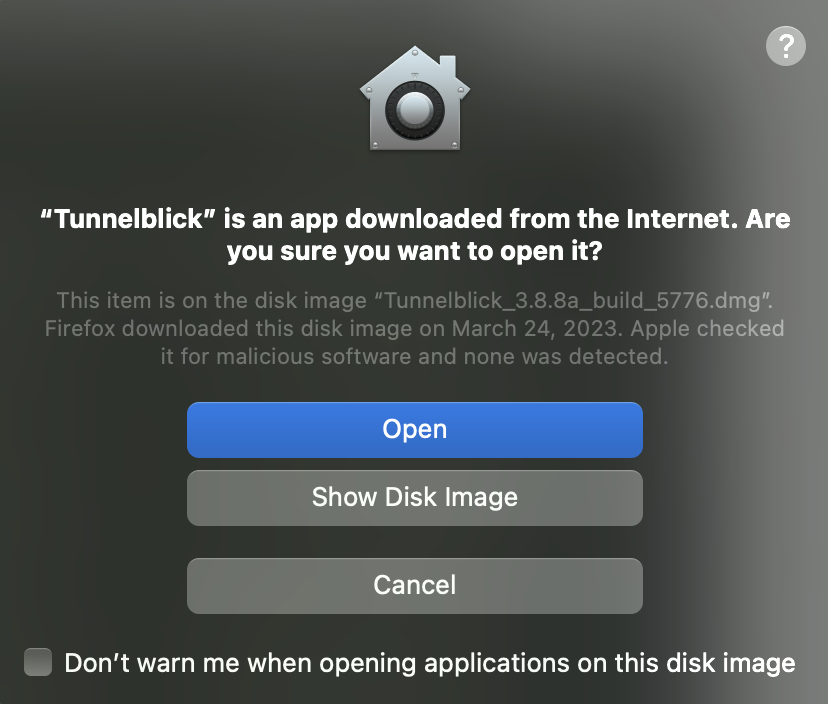
or via Apple > System Settings > Privacy & Security > Allow Applications … “Open Anyway”
Once the Tunnelblick software installer completes it will auto load, however, you may always navigate to MacHD > Applications > Tunnelblick


Once the Tunnelblick application loads, it will remain in the top right of the macOS menu bar.

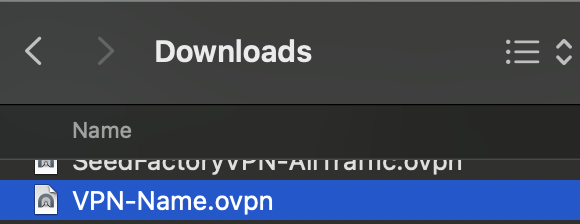
In order to configure the Tunnelblick software, drag the desired .opvn configuration file, provided for the specific VPN connection, onto the menu icon.
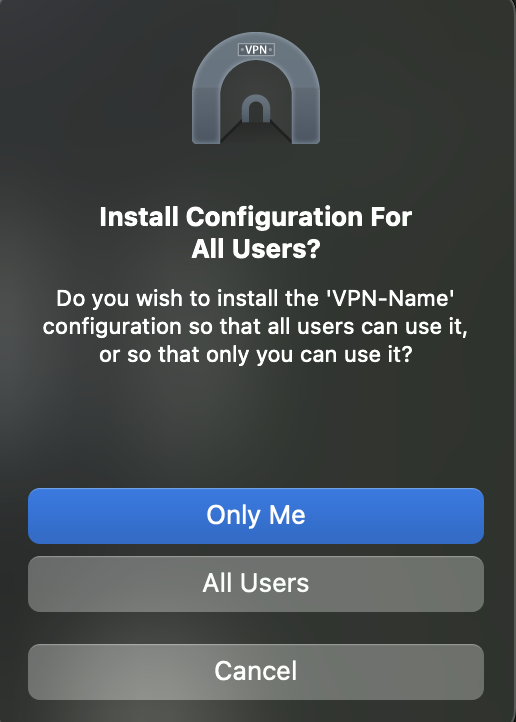
Prompts will appear asking to install the configuration to either the current user or to all users. This choice is up to you.
Connecting to the VPN using TunnelBlick VPN Client for macOS
If it the TunnelBlick icon is not located in the top right of your MacOS menu bar, navigate to the Finder > Applications folder and double click on the TunnelBlick application icon. When it loads it will show up in the top right portion of your menu bar on MacOS.
To connect the VPN, click the Tunnelblick VPN icon and select the desired Connect “VPN-Name” menu option.

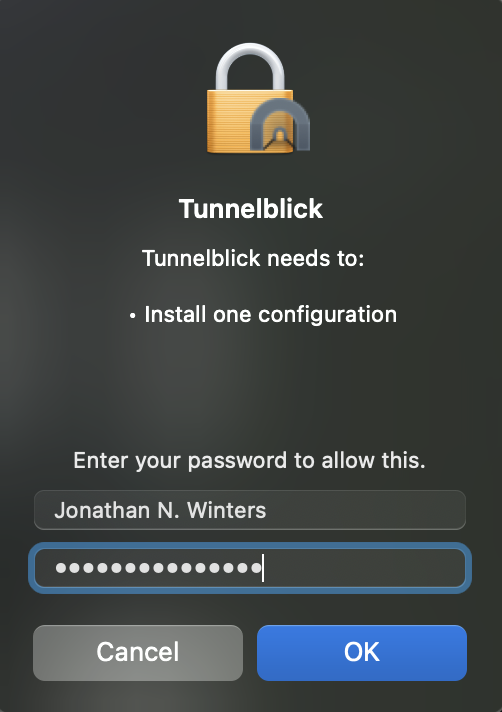
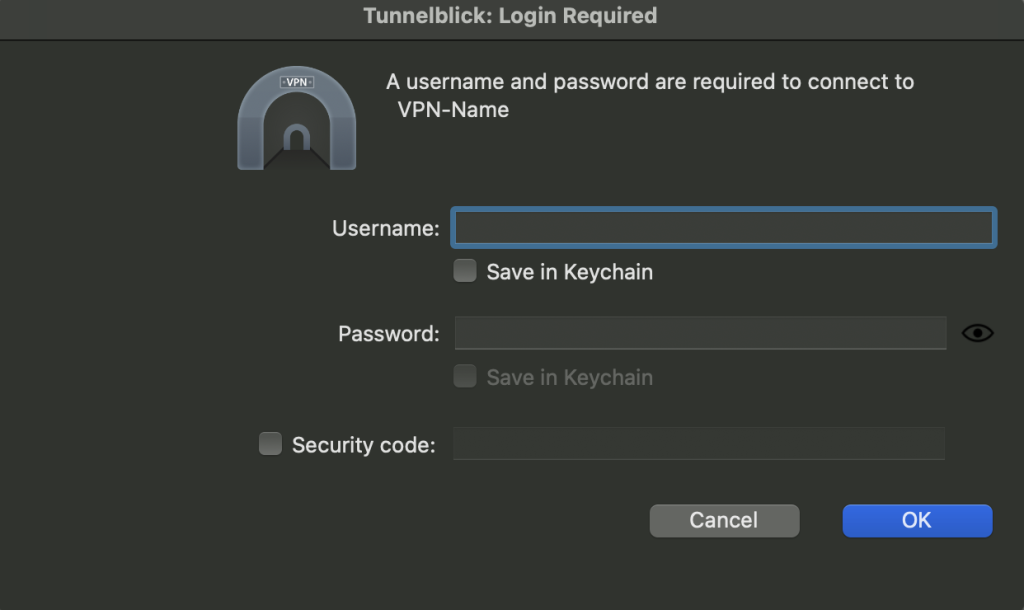
When prompted enter the username and password for the VPN connection. The Security code field may be left blank. Then click OK.
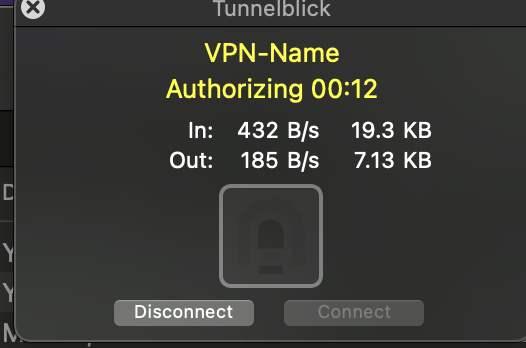
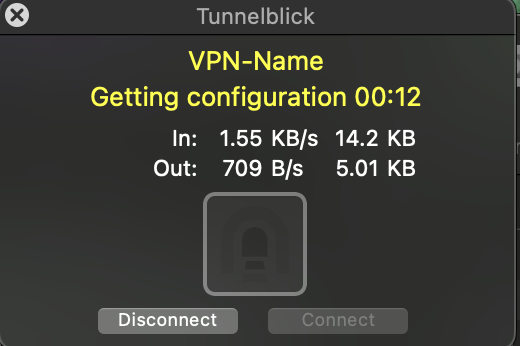
The Tunnelblick software will go through a few stages as the VPN connection is built. 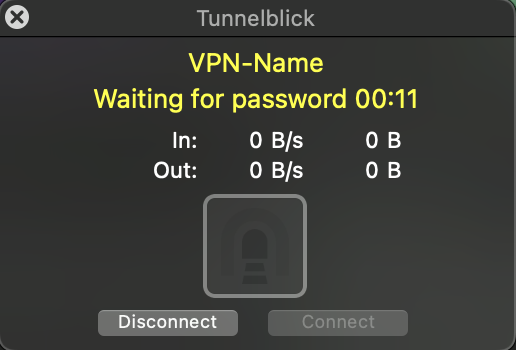

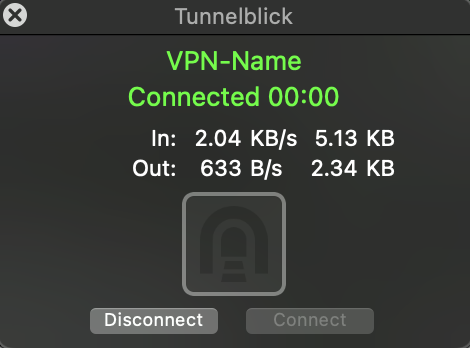
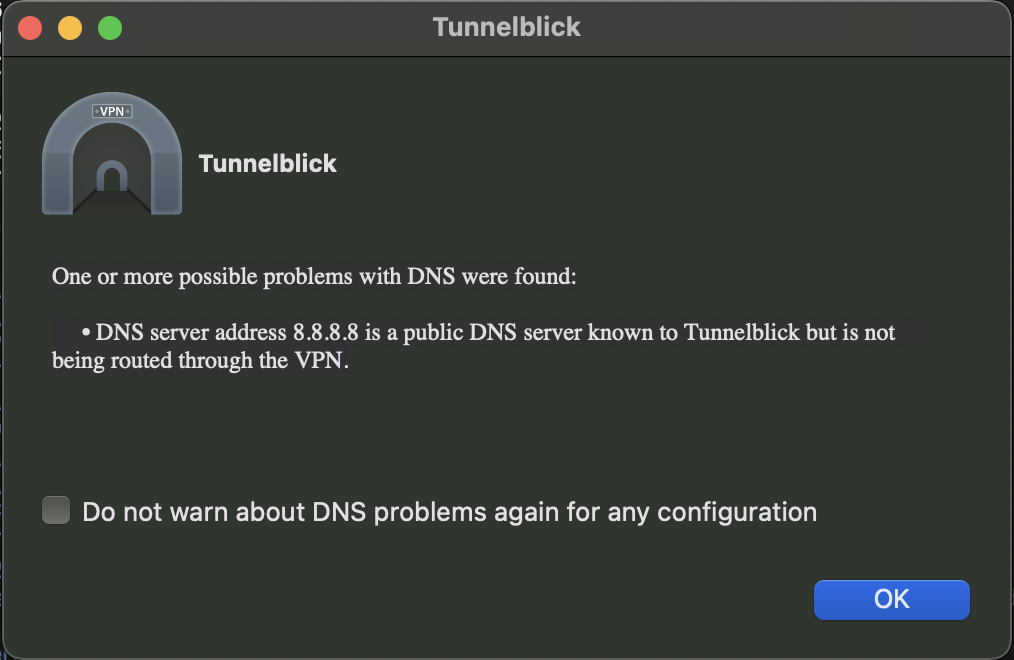
Once complete, Tunnelblick may prompt with one or more warnings. Most of them may safely be ignored and the connection will still work.
Configuring VPN Client for Windows
Instructions coming soon…